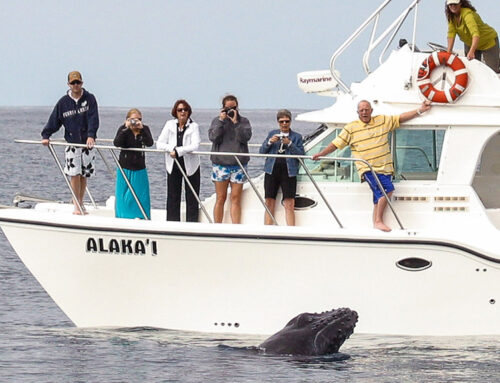
One of the key factors in achieving success in wildlife photography is understanding camera settings. We’ve put together some useful tips and tricks that will help you understand the different camera settings when out on the ocean and how to use them effectively to capture stunning wildlife photos on our wildlife photography tours.
OCEAN WILDLIFE FIELD SETTINGS
These are the settings that we generally use for research/photo id’s with adjustments for light or particular encounter conditions:
Drive mode: Continuous
Wildlife photographers can be incredibly fast-paced, and each moment is crucial. Continuous (or “burst”) shooting will enable you to get more versions of the same frame, allowing you to choose the picture with the most detail. locks on to your subject and tracks its movement, increasing your chances of getting a sharp image.
Remember though, that when you’re in Continuous shooting mode you can keep your finger on the shutter button and the camera will keep shooting until it fills the buffer, so make sure you have plenty of media cards if you’re going to shoot in this manner. Same for extra batteries.
NOTE: We don’t usually suggest Back Button Auto Focus (BBAF Canon, Nikon ) unless both you and your subject are stationary (uncommon with marine wildlife and being onboard a boat).
Focus: AI Servo Canon, AF-C Nikon (tracking subject)
Essentially what this setting does is to continuously track your initial focus point and readjust the focus accordingly.
Alternative Auto Focus (AF) Focus Modes
Optimally – use the smallest AF area you can successfully keep on the animal (from birds to whales!). Use what works and don’t hesitate to switch:
Nearly stationary, fairly close, animals of various sizes
Canon – Single-point AF
Nikon – AF-C Nikon, or Dynamic Area AF with 9 or 25 points (varies by camera model)
Nikon Z mirrorless – Dynamic Area AF with 9 or 25 points selected
Sony – Flexible Spot Small, Medium or Large with Tracking on
Moderate-speed action, large animals
Canon – AI Servo
Nikon – AF-C Nikon, or Dynamic Area AF with 9 or 25 points (varies by camera model)
Sony – Zone with Tracking on
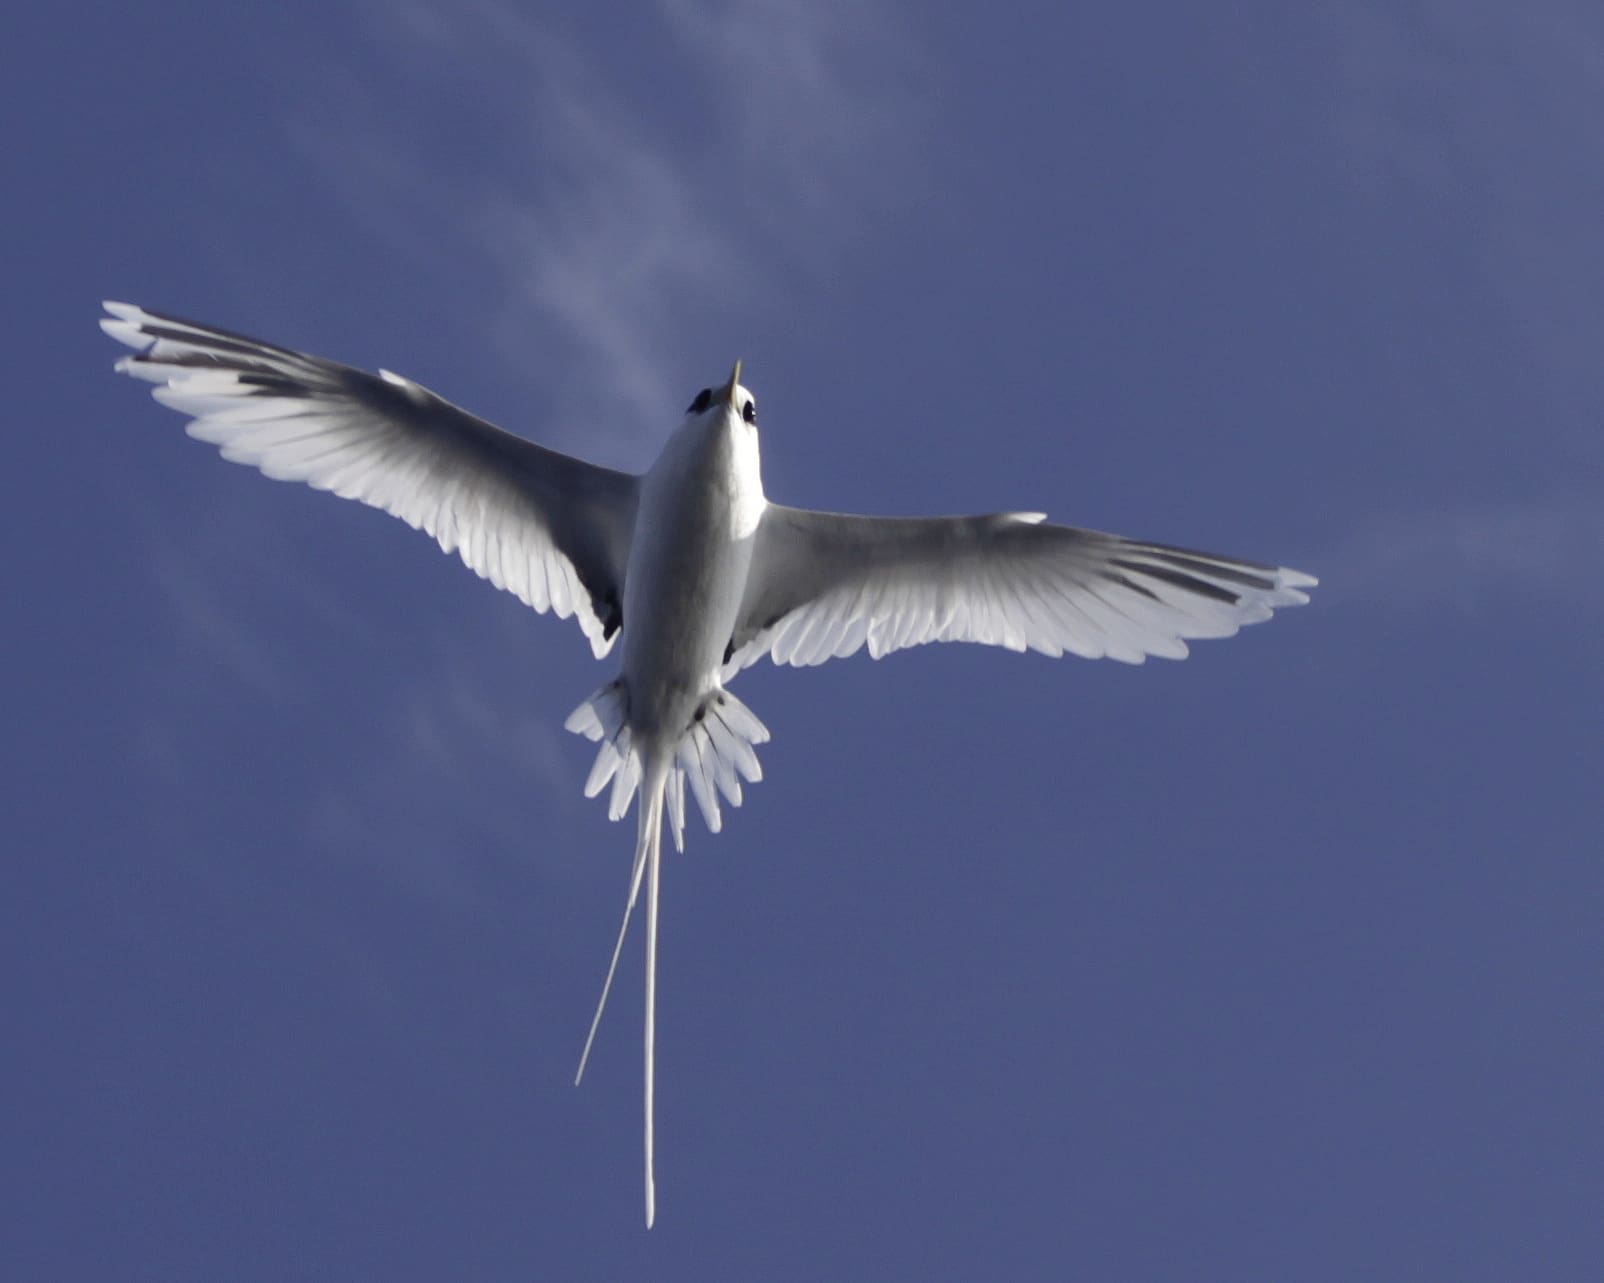
Fast Action Animals, Birds in flight
Canon/ Sort of Sony – Zone AF
Nikon – Group or Wide (Nikon Z)
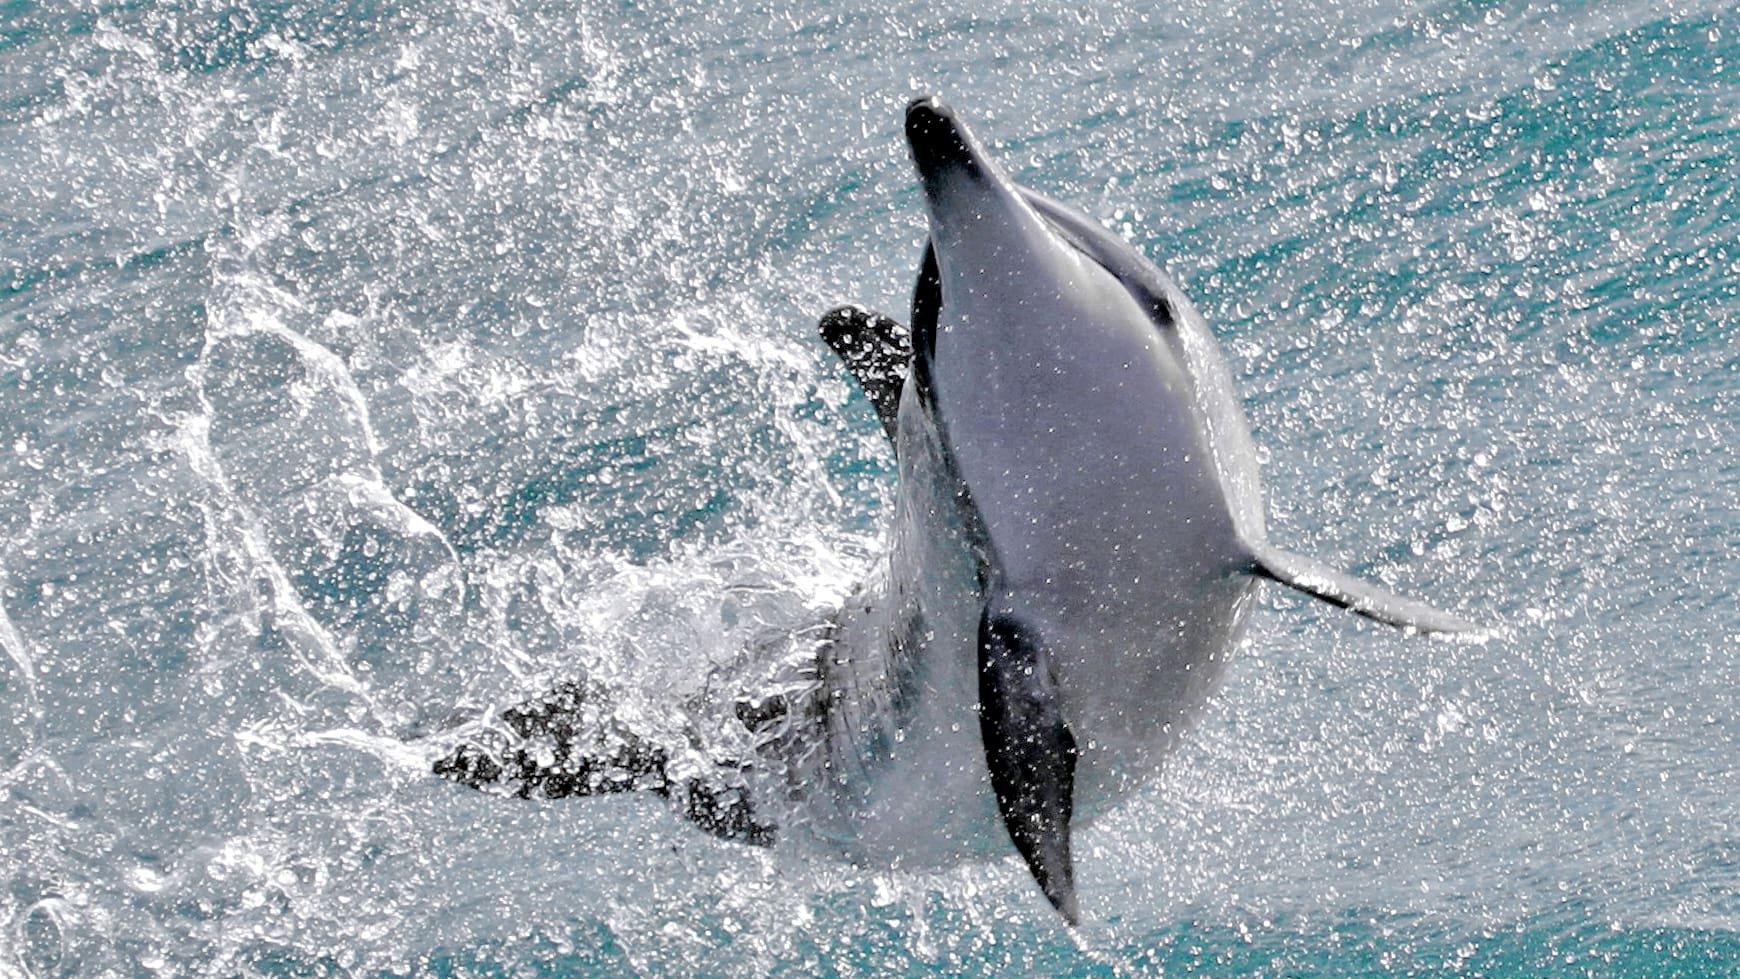
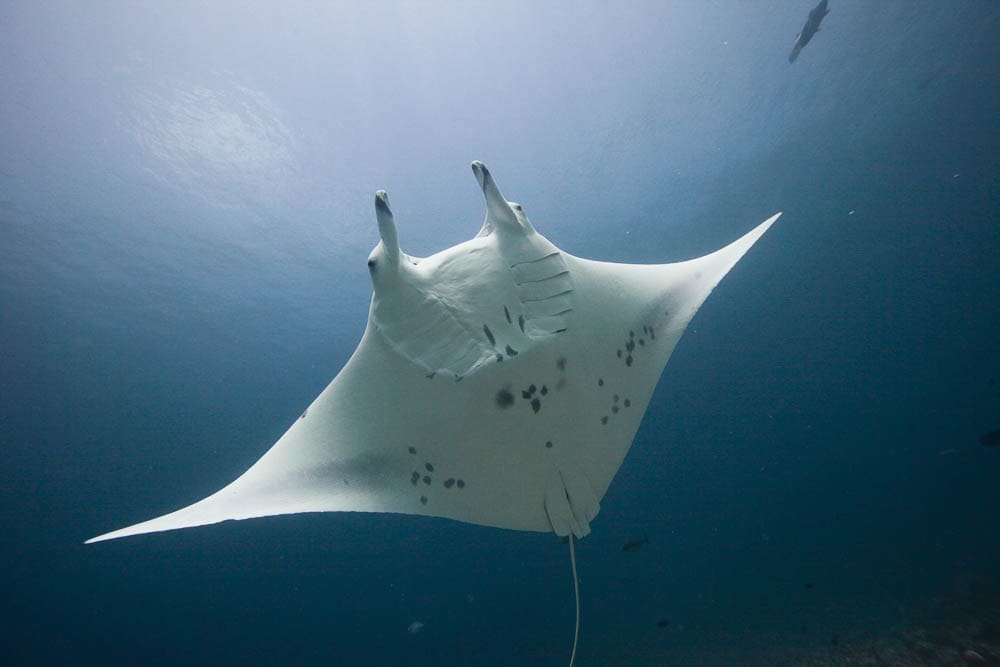
These areas hold a number of AF points, giving a bit of a safety net over a single point. Point the AF area at the subject and the camera takes over, generally trying to focus on the first good bit of contrast it sees, usually with a close-focus priority bias, These types of AF areas seem more eager to achieve that initial lock than other AF options and do a better job at putting keepers on our cards in most scenarios. With almost all dolphin species will be in a constant state of motion, we love a quickly locked focus.
With mirrorless, we may use Subject Detection and/or eye detection for shots that animals that fill a good bit of the viewfinder, have a fairly distinct face/eye, and we can keep them in relative position/focus.
If using AI Servo mode in mirrorless, disable Continuous AF mode (it’s overkill) to save battery.
Use Manual, or Shutter Priority mode
Shutter speed: 1/1000-4000
In Shutter Priority mode (TV Canon, S Nikon) there is no “perfect” speed that covers every type of wildlife shot, but with Hawaii’s normally bright light 1/32ooth is a great go-to shutter speed.
Assuming a good AF lock, the faster the shutter speed, the higher the keeper rate. Most blurry shots are the fault of a too slow shutter speed.
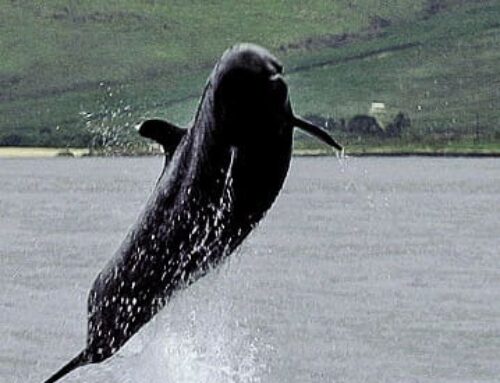
You want to freeze action. Spinner dolphins will spin as they jump. Spotted dolphins will try to keep up with a moving boat, leaping repetitively. Whales breach and pec or tail slap. The faster the movement of your subject the faster your shutter speed. The farther your subject, the faster the shutter speed. If you’re not panning, yep, faster shutter speed.
Keep an eye on your auto ISO, if it is getting into higher ranges your photos may be noisy/grainy. Different cameras differ on when this will occur. Get to know your camera beforehand.
Dimmer lighting conditions may lower your shutter speed, or limit your shots to closer, larger subjects or panning with their movements. You may also open your F/stop to allow more light.
Set ISO to Auto in Manual
To ensure the sharpness and clarity for photo identification shots that we use for citizen science wildlife photographs, it’s important to keep the ISO level as low as possible. High ISO settings can introduce noise, which can become especially apparent in low-light conditions.
It’s also important to note that some camera models may produce less noise than others, so it’s worth testing out your specific camera’s capability to determine the best ISO setting for your wildlife photography. In general, and due to the normally bright light in Hawaii, we set ISO to AUTO, and check it should lighting change.
SET F/Stop to F/8 in Manual
Under normally bright Hawaii conditions, F/8 is a great go-to setting. Especially nice for photo id’s and to keep the entire body sharp, freeze those water droplets upon a breach, etc.
Using a narrow (smaller setting) depth of field will also make a image more prone to motion blur. We’ll usually be set at F/8. but if having trouble with autofocus locking, try F/5.6.
F/8 also works better for sky backgrounds (birds in flight), while the more open f/5.6 setting may be better for ‘isolating’ your subject with an ocean background.
If you are shooting in TV (Canon) or S (Nikon)
Mahalo!
Questions? Let us know in the comments below or email us at reservations at sailhawaii.com